Already running classes on Zoom? Integrate TeamUp with Zoom to automate the process.
If you're already running classes on Zoom via TeamUp, consider integrating your TeamUp account with Zoom to automate the process further.
With our Zoom integration you'll be able to:
-
Configure a venue on TeamUp to automatically create a Zoom meeting URL/link for each class that takes place at that venue.
-
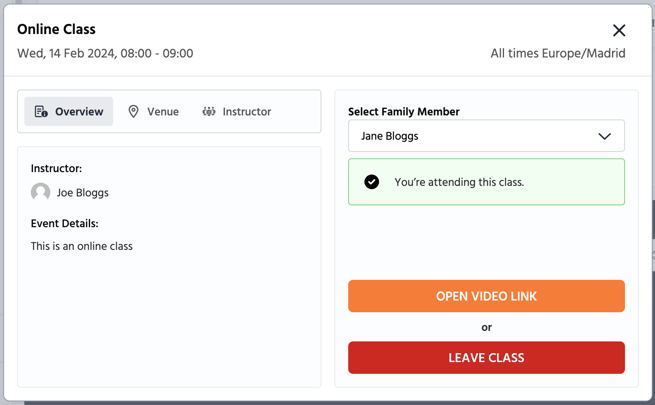
Class registrants will receive the video link in their registration confirmation email, in addition to being able to open the video stream from the class detail page on your Customer Site.
💡 The email and the class detail page are automatically populated - you won't need to enter the Zoom link manually.
-
You will be able to open the meeting direct from your class detail page.

Here are the changes you'll need to make to transition from the manual setup to the integration with Zoom:
1. Integrate your TeamUp account with Zoom. To do this, head to Settings >> Integrations.
Click 'Get Started' in the Zoom section and then click 'Connect to Zoom'.
You will be redirected to Zoom where you can authorize TeamUp to manage the meetings for all the users on your Zoom account.
2. Create an online venue where Zoom meetings are created automatically.
If you already have an online venue set up, head to Settings >> Venues/Rooms to convert it into a Zoom venue. To do this, click 'Edit' next to the venue. For help with the online settings, please see 'Creating an online venue where Zoom meetings are created automatically' in this guide.
If you're not using an online venue for your Zoom classes, you'll need to create one first. Please see 'Creating an online venue where Zoom meetings are created automatically' in this guide.
3. Assign your online venue/s to your online classes. If you already had an online venue assigned to your online classes, you can skip this step.
If not, head to Classes >> Class types >> click desired class >> click the cogwheel button next to a time slot >> 'Edit Details' >> assign the online venue.
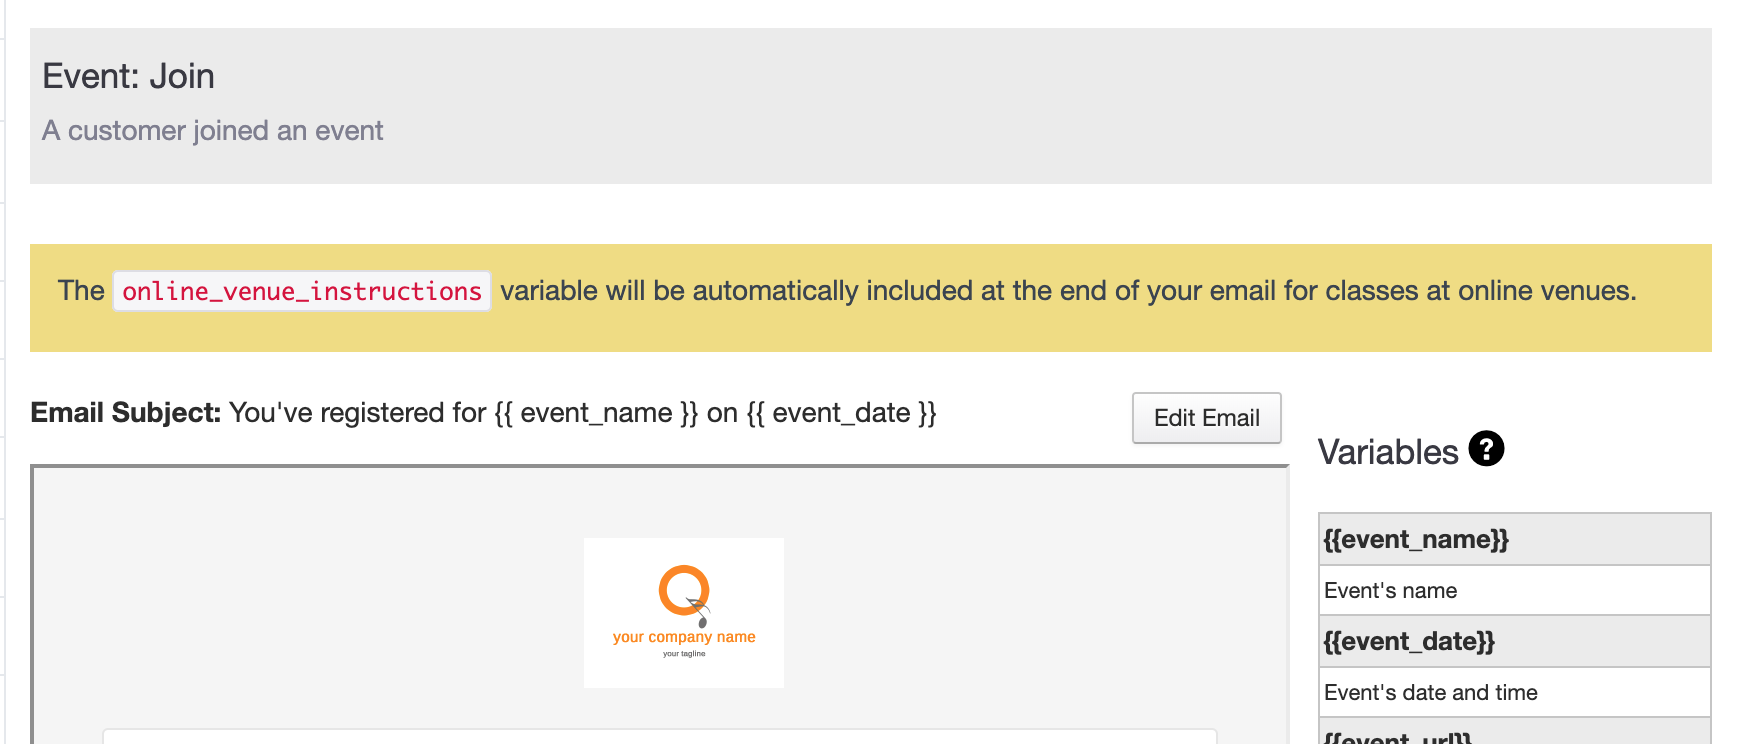
4. Communications. The Registration Confirmation email (Notifications >> Class: Registration Confirmation) will now have a new placeholder variable.
For online classes, this variable gets replaced by a block of instructions + call to action button for the customer to launch the video stream. If the class is not online, this variable is ignored. Therefore, if you've added a Zoom link to your notifications, please delete it.
For this special case, if:
-
You have online venues
-
Your Registration Confirmation email does not already include the variable
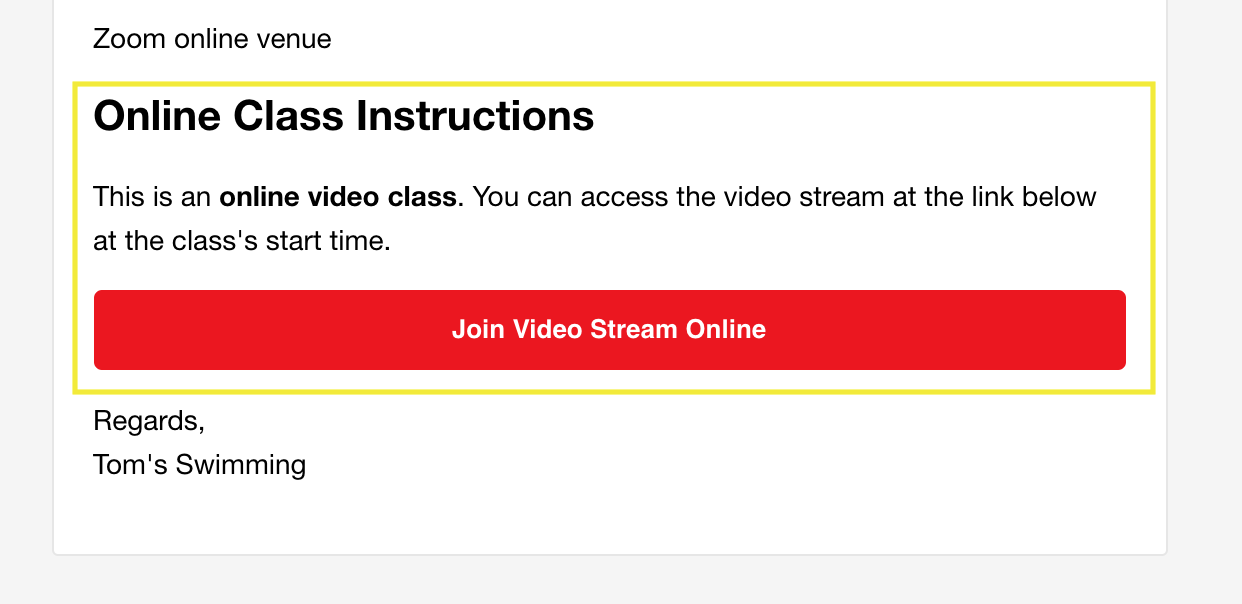
when emails for online classes are rendered, this content is placed at the end of the email:
If you use the placeholder, the above alert won't show, and the online booking instructions + button will go where you put that placeholder.
The content in the highlighted block below is the part.
💡 The variable is also available in pre-class trigger notifications.
Jump to
An overview of the Zoom integration with TeamUp
Recommended resources
Taking your fitness classes online