How to add custom fields to your TeamUp account.
Fields can be created to help you store data about your customers. See our Intro to Fields for more information on what a field is and how it can be used.
Examples of fields are "Date of Birth" or "Home telephone number" but it can also be questions such as "Where did you hear from us?" or "Do you suffer from heart problems?", or information you require specific to your business such as "Height" or "What level of Pilates experience do you have?"
A new field can be created in two ways:
1. From Customer Fields:
Go to Settings >> Customer Fields >> click Add a Field on the top right-hand side:

Now, add the following as prompted:
-
Label: the label is the name of the field, and whatever you enter is exactly how it'll be displayed to your customers (if assigned to a form - more information on this further down) or in the customer profile on your business dashboard. An example of a field label would be "Date of Birth" or "Where did you hear from us?"
-
Type: the type gives you the choice of deciding what kind of data goes in the field and define the format that will be presented to you and/or your customers. So for example for a date of birth you'll want a "Date" type so a date picker (calendar) is displayed when the information is gathered, or for "Where did you hear from us?" you might want a "Single line of text" (if you want a customer to enter their own answer) or a "Choice (select exactly one choice)" (if you want to pre-define the answers for your customer to choose one option):

Please note that once created, a field's type cannot be changed, but don't worry if you get it wrong, you can easily delete this field and add it again.
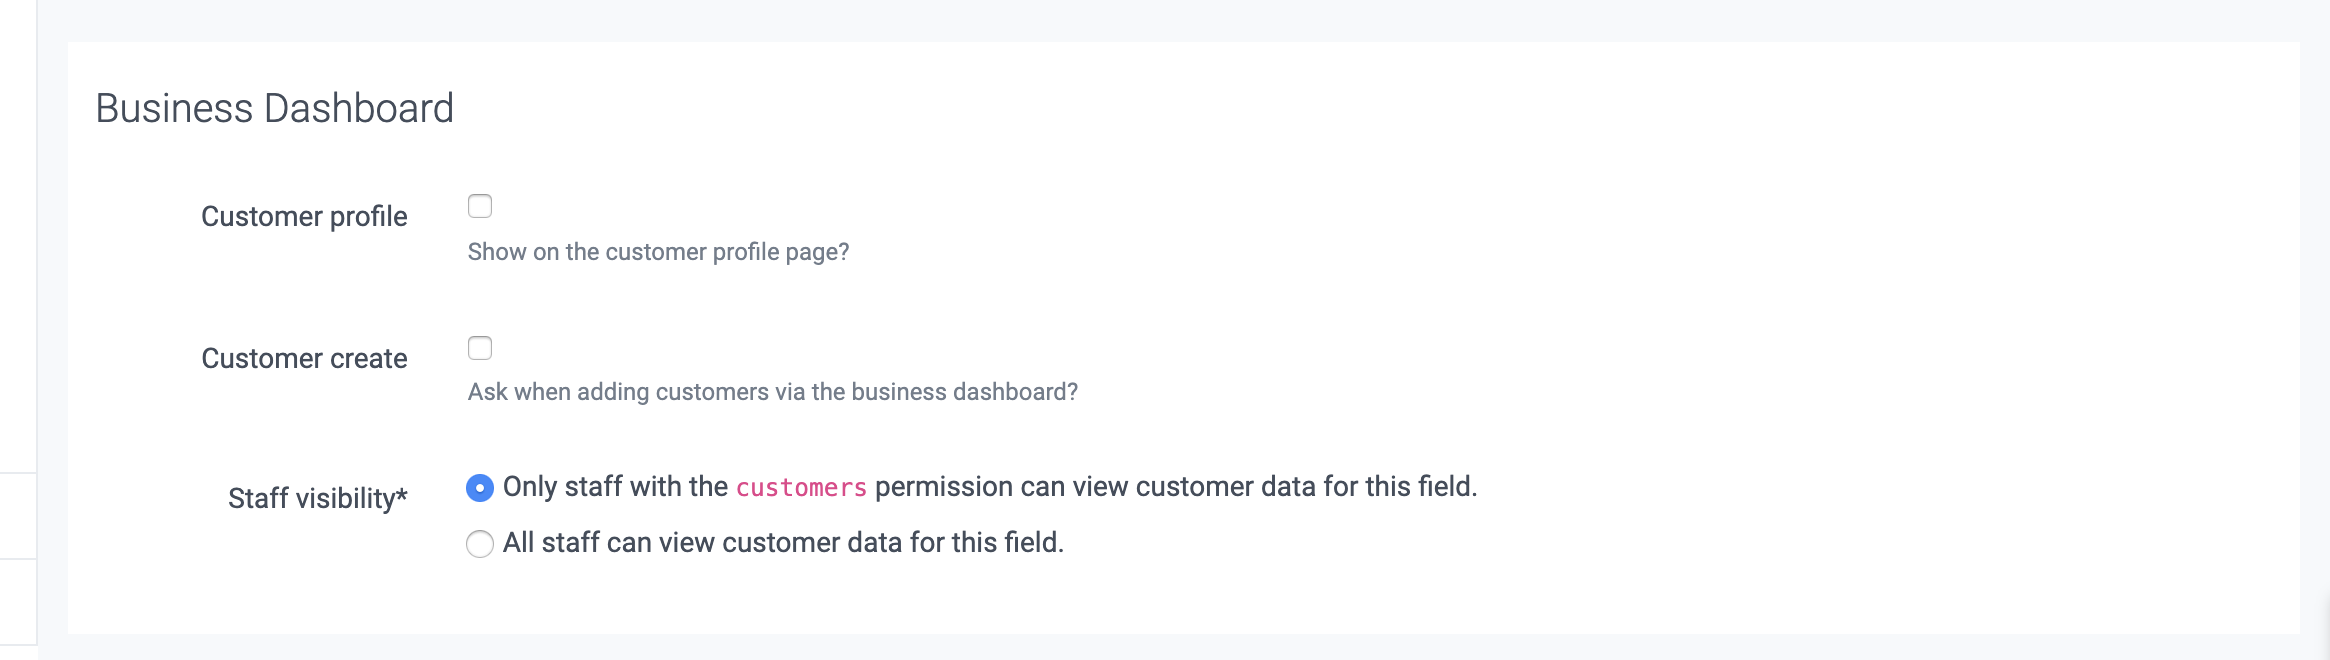
Next, within the Business Dashboard section you'll set:
-
Whether it appears on the customer profile. Fields set as "Show on the customer profile page?" appear on the customer profile page on your business dashboard (Customers >> Customer list > search customer) and can be edited from here as well.
-
Whether it is asked when you create customers via your business dashboard. Fields set as "Ask when adding customers via the business dashboard?" are shown to staff when creating customers on your business dashboard.
-
Staff visibility. Fields set with staff visibility "only staff with the customers permission" can be seen only by staff members who have the customers permission. For more information about how to adjust staff permissions, please see Edit staff member permissions. Fields with "all staff" visibility can be viewed by all staff members. For example, you might want some of your instructors, but not all, to view certain customer data. In this case, you would set staff visibility on the field to "only staff with the customer permission" and you would grant the instructors the "customers permission".
Tip. Choose Customer Create when you want the field to be available when adding new customers yourself from the business side. For example, if you add a customer from Customers >> Add a Customer and you want to be able to enter the customer's date of birth on that same page rather than having to edit the customer profile page once the customer has been created.
Please see Add fields to a customer profile for more information on how the above works.
Finally, within the Customer Forms section, you can select if your new field should be included in any of the already existing forms available. If so, simply tick the relevant form(s) and click Create. Otherwise, don't tick any of the forms and click Create.
If you haven't yet created the form where you'd like to add this new field, please don't worry, as you'll be able to select the field when creating a new form instead.
2. From a Customer Form:
You can also create a new field from a customer form. For this, go to Forms/Documents >> Customer Forms >> click on the Details button next to the relevant form >> and click on Add/remove fields:
Next, click on Create a Field green button on the right-hand side, complete the information requested and finally click Create.

For more detail about the information shown when creating a new field from the form please see section 1 in this article.
Once the new field has been created, you can either add more fields or return to the form again once all is completed.
Jump to:
Handling multiple choice fields