As explained in our Introduction to Customer Forms, forms are used to collect data from your customers using Customer Fields.
Before creating a new Form, we recommend that you review the pre-loaded Forms that the system automatically creates first to check what customer data is already going to be collected, as it might be that once reviewed, you wish to simply edit an existing Form instead by adding/removing Fields to them.
Creating a Form
To create a new Form, head to Forms/Documents >> Customer Forms >> click "Add a Form" button:
On the next page, first, enter the Name of your new Form (please note that the wording used will be displayed on the customer purchase/registration flow), and then choose what the Form is required for.
For this, there are two options: registrations to events (classes/appointments/courses) and memberships purchase. Within each one, you can decide whether the form is required for:
-
All registrations/memberships - selecting this will mean that all customers registering for any type of event and/or purchasing any membership will be prompted to complete the Form.
-
No registrations/memberships - when selected, customers won't be prompted to complete the Form regardless of what event they register for and/or what membership they buy. TIP: select this option for both registrations and memberships if you're not ready to get customers to complete the Form, or you have an existing Form that you wish to temporarily stop.
-
Only selected ones - this allows you to select which registration types and/or membership purchases you wish to prompt customers to complete the Form. For example, the Form might only be needed for those customers who are buying a monthly membership, or for those customers that are registering for your beginner classes.
-
All except those selected - with this option you default to the Form being required for everything except specific event types and/or membership purchases. For example, the Form is required for all your registrations except for Pre-natal classes because you already have a separate Form to cover those. Or, you don't wish people buying a Free Taster Class membership to complete the Form. Note: Using 'All Except' makes the form required for all other types, even ones that don't exist yet.
In this example, our new form called "Registration Form" is going to be required for all registrations except Open Box classes and won't be required for any membership purchases.
Next, choose whether you want customers to be asked to resubmit the form again in the future and if so, after how many weeks. For example, you may have health-related questions in your Form that you want customers to answer every 24 weeks. Once you've made your choice, click "Next".
Finally, on the next page, choose which Fields you wish to include in your Form. For this, simply click Add next to each one, and once done, your Form is then ready to be used:
In this page, you can also click the "Create a Field" if you want to create a new field that you want to include in your Form, but it's not currently available in your Customer Field list.
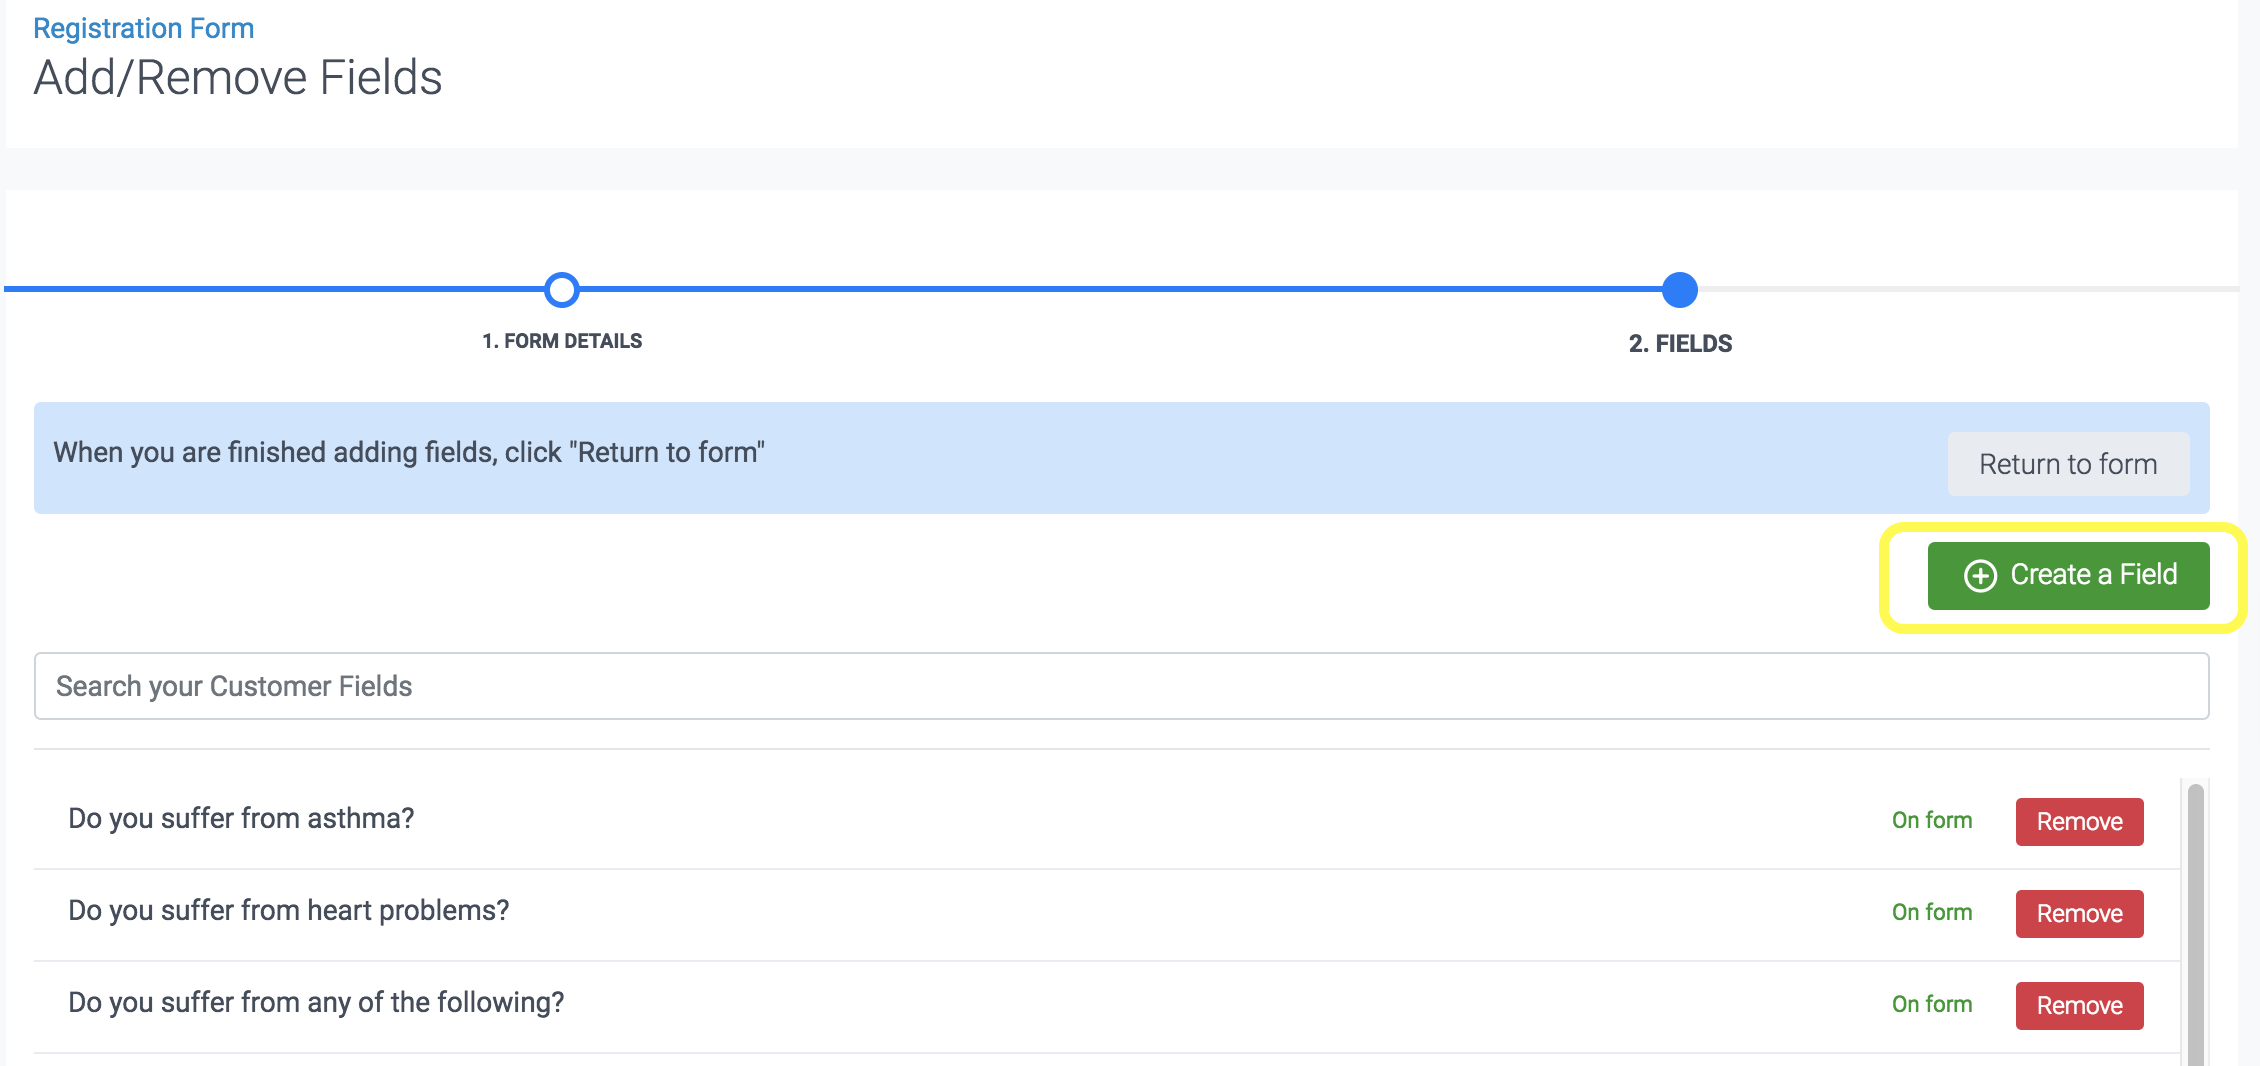
And you can use the Search function too if you've got a long list of Customer Fields to look through:
Your new form will now be included in the registration and/or membership purchase flow on the customer side according to the settings selected:

Jump to:
Add or remove fields to a form
Creating a pre-registration/purchase Form
Expiring Forms/Asking for Resubmission
Managing Forms on a customer profile